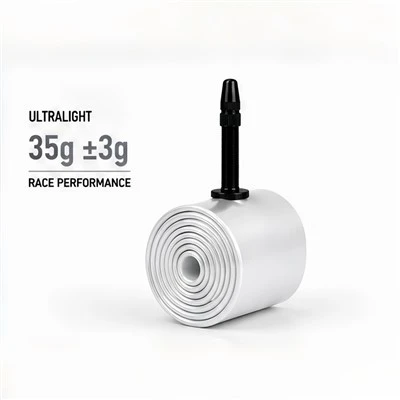
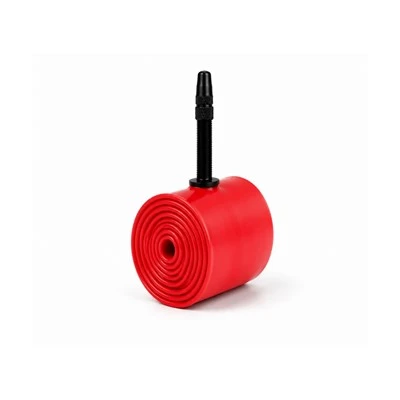
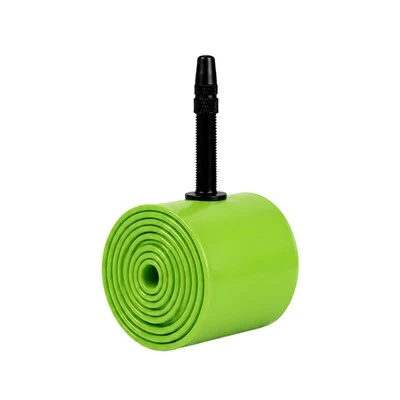
The bicycle inner tube valve (or valve stem) and rim are securely connected via a valve base and a retaining nut.
The valve base passes completely through the valve hole in the rim and is then tightened onto the outside of the rim with a metal or plastic hexagonal nut. This nut acts as a "lock," securing the valve position to prevent movement and sealing the valve hole to reduce the risk of air leakage. In practice, it's crucial to control the tightness of the nut; too tight and it can damage the inner tube, while too loose and it may leak air.
Key Points:
1. Valve Hole Matching: The diameter of the rim hole must precisely match the diameter of the valve base. Common "American valve stems" (automotive universal valve stems) have a hole diameter of approximately 8.5 mm.
2. Anti-Slip Design: The bottom of the valve base has a raised rubber ring that forms a second sealing barrier after it comes into contact with the inner tube.
3. Tool Assistance: During installation, it is recommended to use a valve wrench (or small pliers) to gently tighten the nut. Stop when you feel noticeable resistance; do not apply excessive force.
If air leakage occurs around the valve after prolonged riding, first check if the nut is loose. Another type, the "French valve" (a slim, elongated valve), uses a threaded, embedded fixing mechanism and requires a separate valve adapter for use with rimmed rims; this is commonly found on road bikes. Before installing a new inner tube, wiping the edge of the valve hole with a cotton cloth can prevent foreign objects from causing seal failure.